3D Printing - SLA
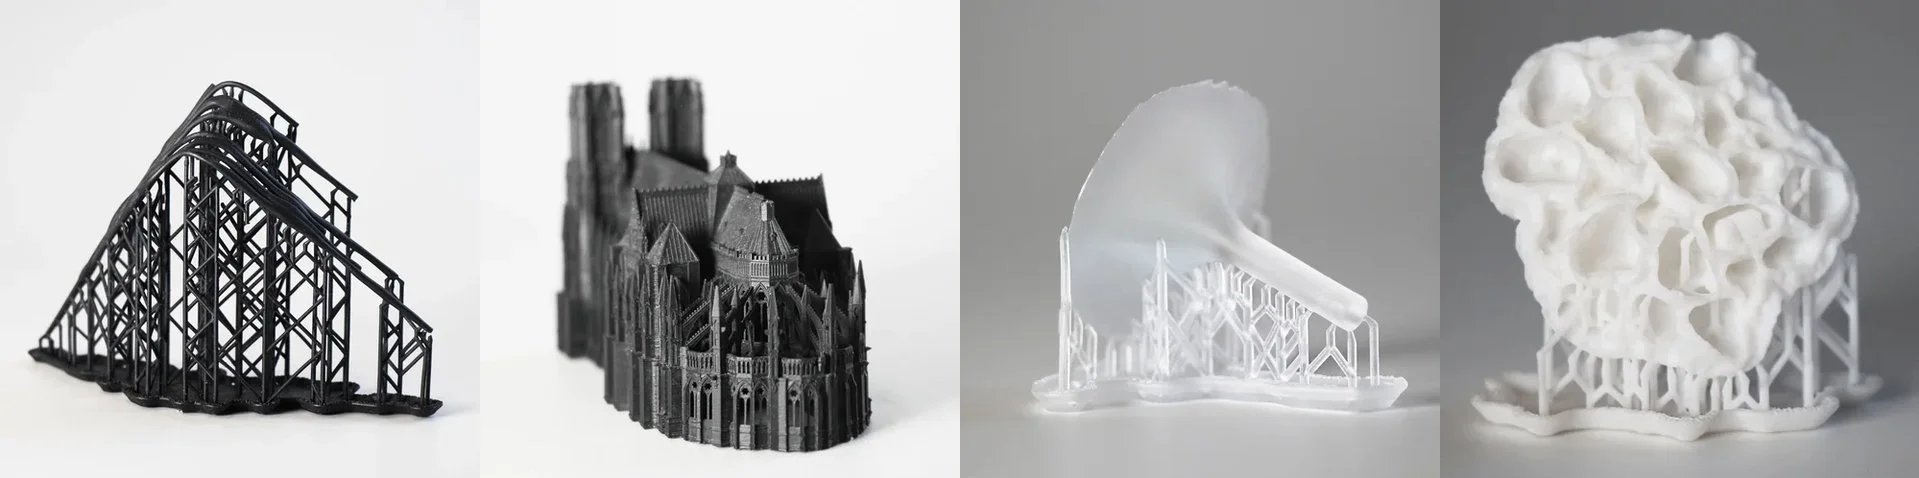
Stereolithography printing is best for creating highly detailed, smooth, and dimensionally accurate plastic parts that look like injection-molded items.
SLA Form 3 Formlabs
$0.60/ml + $10 set-up fee
Bed Size: 145 x 145 x 185mm
Material: SLA Resin
Colour: Black | White | Grey
SLA Printing Checklist.
Check our file prep checklist, to ensure you have set up your file correctly.
Repair your .STL file(s) in NetFabb.
Watch this video on how to use Netfabb.Your 3D printing request will be reviewed by staff within one business day.
Calculate cost for your print job and have the funds ready in 3DPrinterOS.
Use the job notes within 3DPrinterOS to confirm the expected cost for your print.You will receive an email when the job notes are updated within 3DPrinterOS.
Please reply promptly to any questions to keep your place in the print queue.
Preparing Your File.
Step 1: Install PreForm
Step 2: Open/import separate .stl files into Preform
Each separate body will need to be its own .stl or .obj file. This will allow you to independently rotate and move each body for optimal printing.
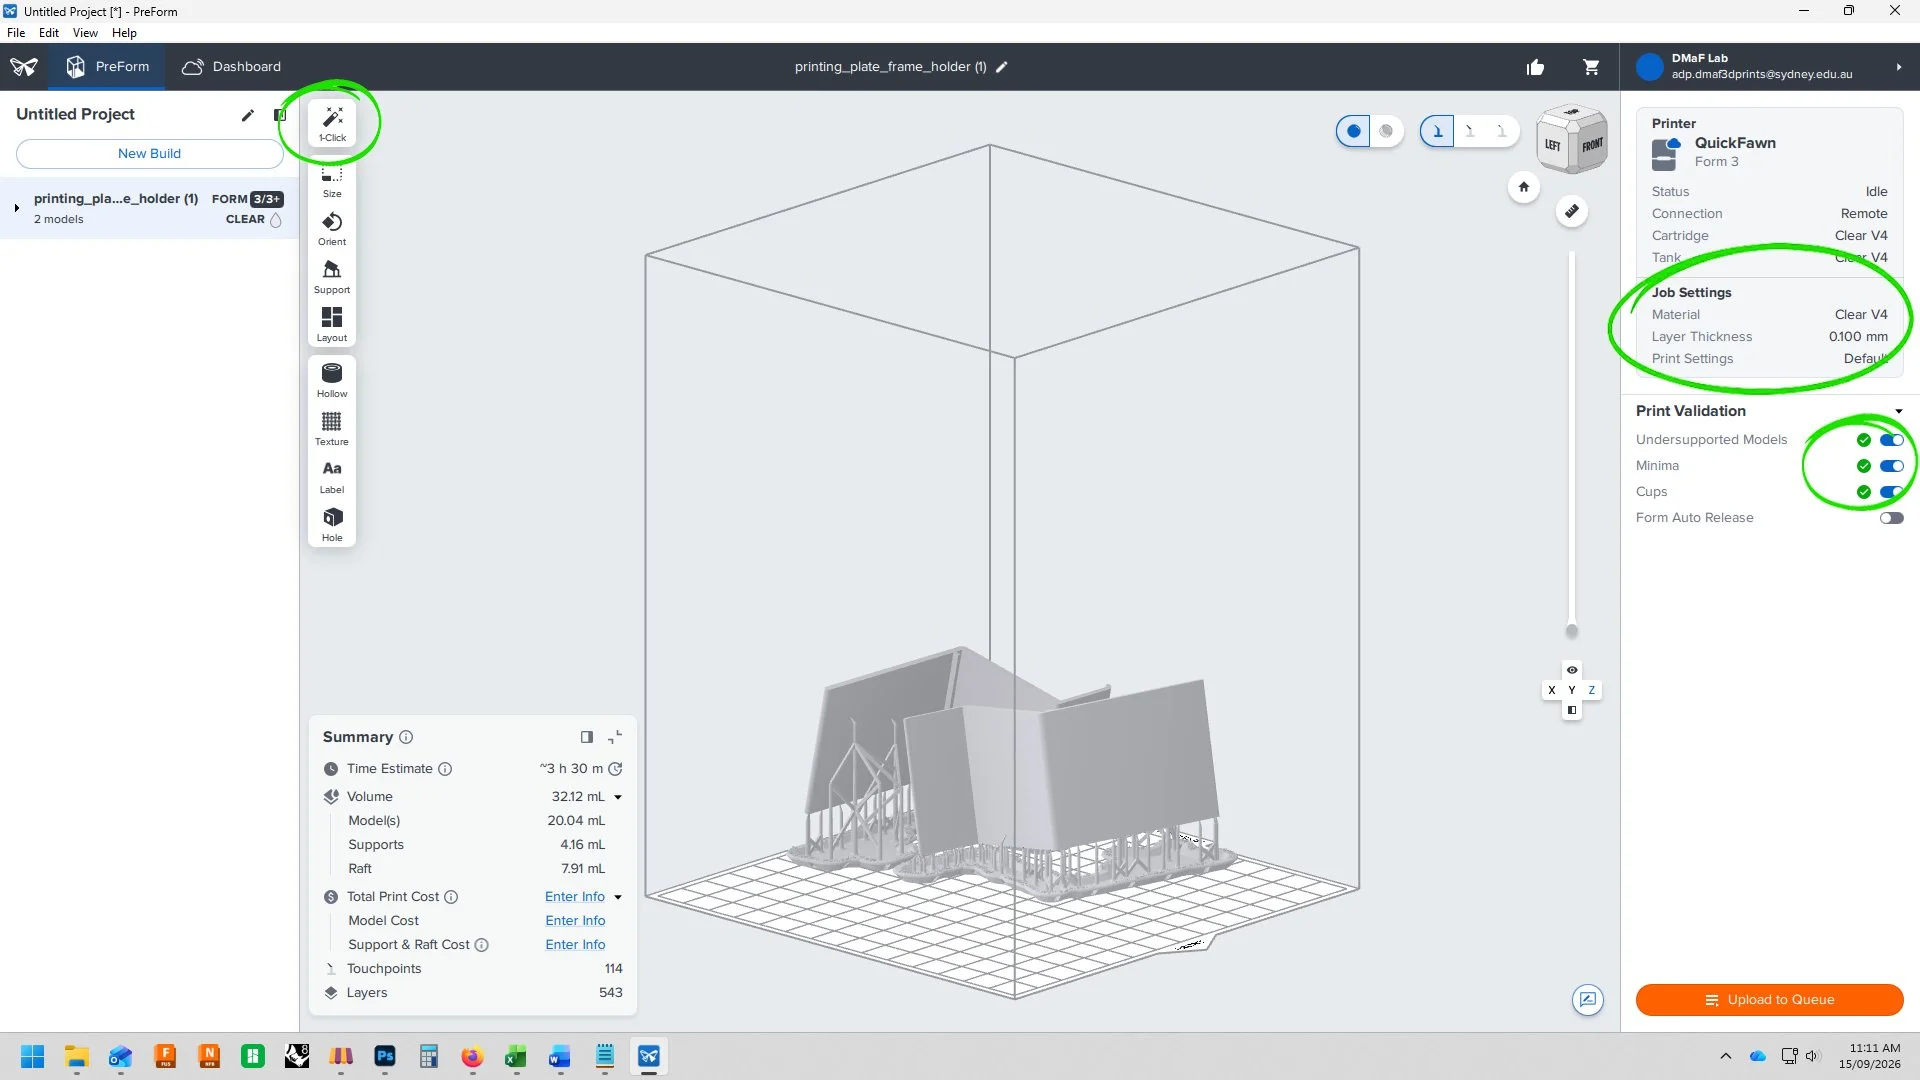
Step 3: Select material and layer height
The material running on each printer can be found in 3DPrinterOS. Use default (0.1mm) layer height.
Step 4: Orient, support and layout your models
The Magic Wand button will process through the orient, support and layout icons with one click.
Use full rafts when printing.
We recommend you learn more about best practices that go into orienting and supporting a model. Unlike FDM printing, SLA parts are best oriented on an angle to the print bed.
Step 5: Check printability
You will need to see the three green thumbs up symbols under the printability tab.
If not, inspect models for unsupported minima and suction cups with the slicer tool.You might need to add more supports or re-orient your model to improve printability and remove cups.
Step 6: Check volume of resin used for print job
Details in the top right tab has the volume of resin needed for your print.
You can use this information to calculate how much your print will cost.
Step 7: Save and upload your .form file to 3DPrinterOS
When queuing your print in 3DPOS, confirm in the notes that you are willing to pay the amount you have quoted and the colour you require.
E.g “Please take $** from my 3DPOS account and print in clear resin”.
Design Considerations.
Avoid creating internal spaces (cups) that resin cannot escape from.
Recommended wall thickness: 0.8mm or thicker.
Ensure all surfaces are ‘joined’ and that there are no holes or gaps. The model must be ‘manifold’.
All surfaces normal must face outwards. Use the ‘direction’ command (type DIR) in Rhino to check.
Ensure there are not double surfaces.
Terms and Conditions.
DMaF will check over your file and let you know if we notice any obvious issues.
However, we do not accept responsibility for issues that have not been fixed.DMaF Lab staff are not responsible for ensuring that your design does not contain parts that will not print well, fit together or be strong – these are design decisions that should be considered by the student.