3D Printing: Bambu Labs
Our Bambu Labs P2S FDM Printers use the same technology as the Ultimaker 2+ however they are a newer more capable machine.
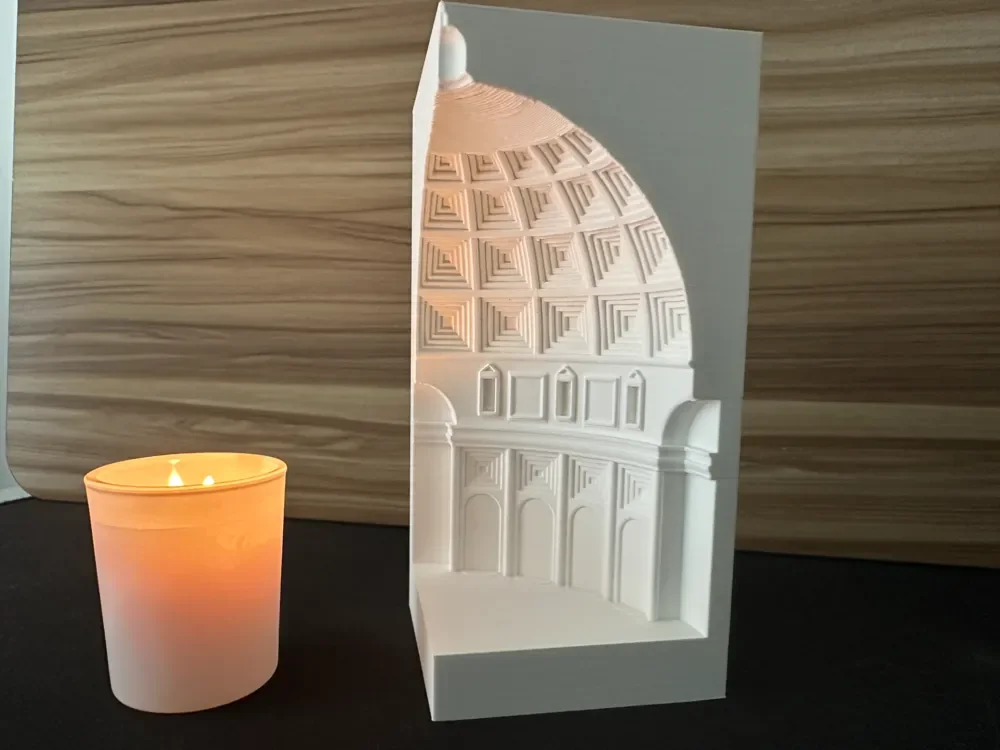
They are a good choice for prints that require finer detail or specialised print settings that may not be possible on the Ulitmakers.
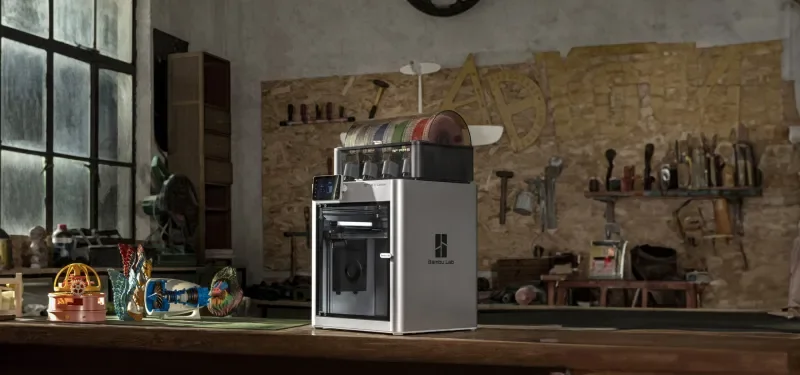
Bambu Lab
P2S FDM 3D Printer
Bed Size: 256 x 256 x 256 mm
Materials: PLA
Colours: White and Black always available. Ready-to-use colour filament available on select machines with more options on request

Bambu Labs P2S FDM filament printer with 4 slot AMS
For 3D Printing Questions:
Please visit the lab during opening hours and bring your laptop and files.
PRICING
$0.05 per gram of build + $0.05 per minute of printing
BOOKINGS
If you want to print using the Bambu, you must book online through 3DPrinterOS. Students are responsible for submitting their 3D printing jobs through this platform.
DMaF has a wide and constantly changing variety of colours and textures available for use in the Bambu Printers. Please come into the lab to see the full selection. Less frequently used colours are installed in the printers on request.
On the completion of the 3D Printing Induction, you will be added to our 3DPrinterOS lab workgroup which will grant you access to our 3D printers in the online platform.
Use your Sydney University email address to log into 3DPrinterOS.
File Preparation and Printing
Check/repair your .3mf or .stl file(s) in NetFabb - watch this video on how to use Netfabb.
Download Bambu Studio Slicer - https://bambulab.com/en-au/download
Install slicer and select the following during setup (refer to image below):
3.1 Printer: Clear the preselected printers and add Bambu Lab P2S only
3.2 Nozzle size: 0.4mm
3.3 Filaments: Default
3.4 Bambu Network Plug-in. Optional but not required.
3.5 Account creation and login. Optional but not required.
Add a model - Drag and drop model files from a folder into Bambu Studio.
Supported files include .3mf .stl .stp .step .amf .obj.
Select filament type and colour.
5.1 Black and white PLA Matte are always available. Selected machines will have a secondary colour option shown in the printer name in 3D Printer OS (eg. ‘‘Crab - White | Latte Brown”). Other colours are available by request - visit the lab to see filament options.
5.2 Make sure the filament type is correct. The standard Black and White filaments are PLA Matte. Colour options should be PLA Matte if described as “Matte” and PLA basic otherwise. If a lab technician has helped prepared a machine with an exotic filament, make sure to use the matching type. Ie. PLA Silk, PETG etc.
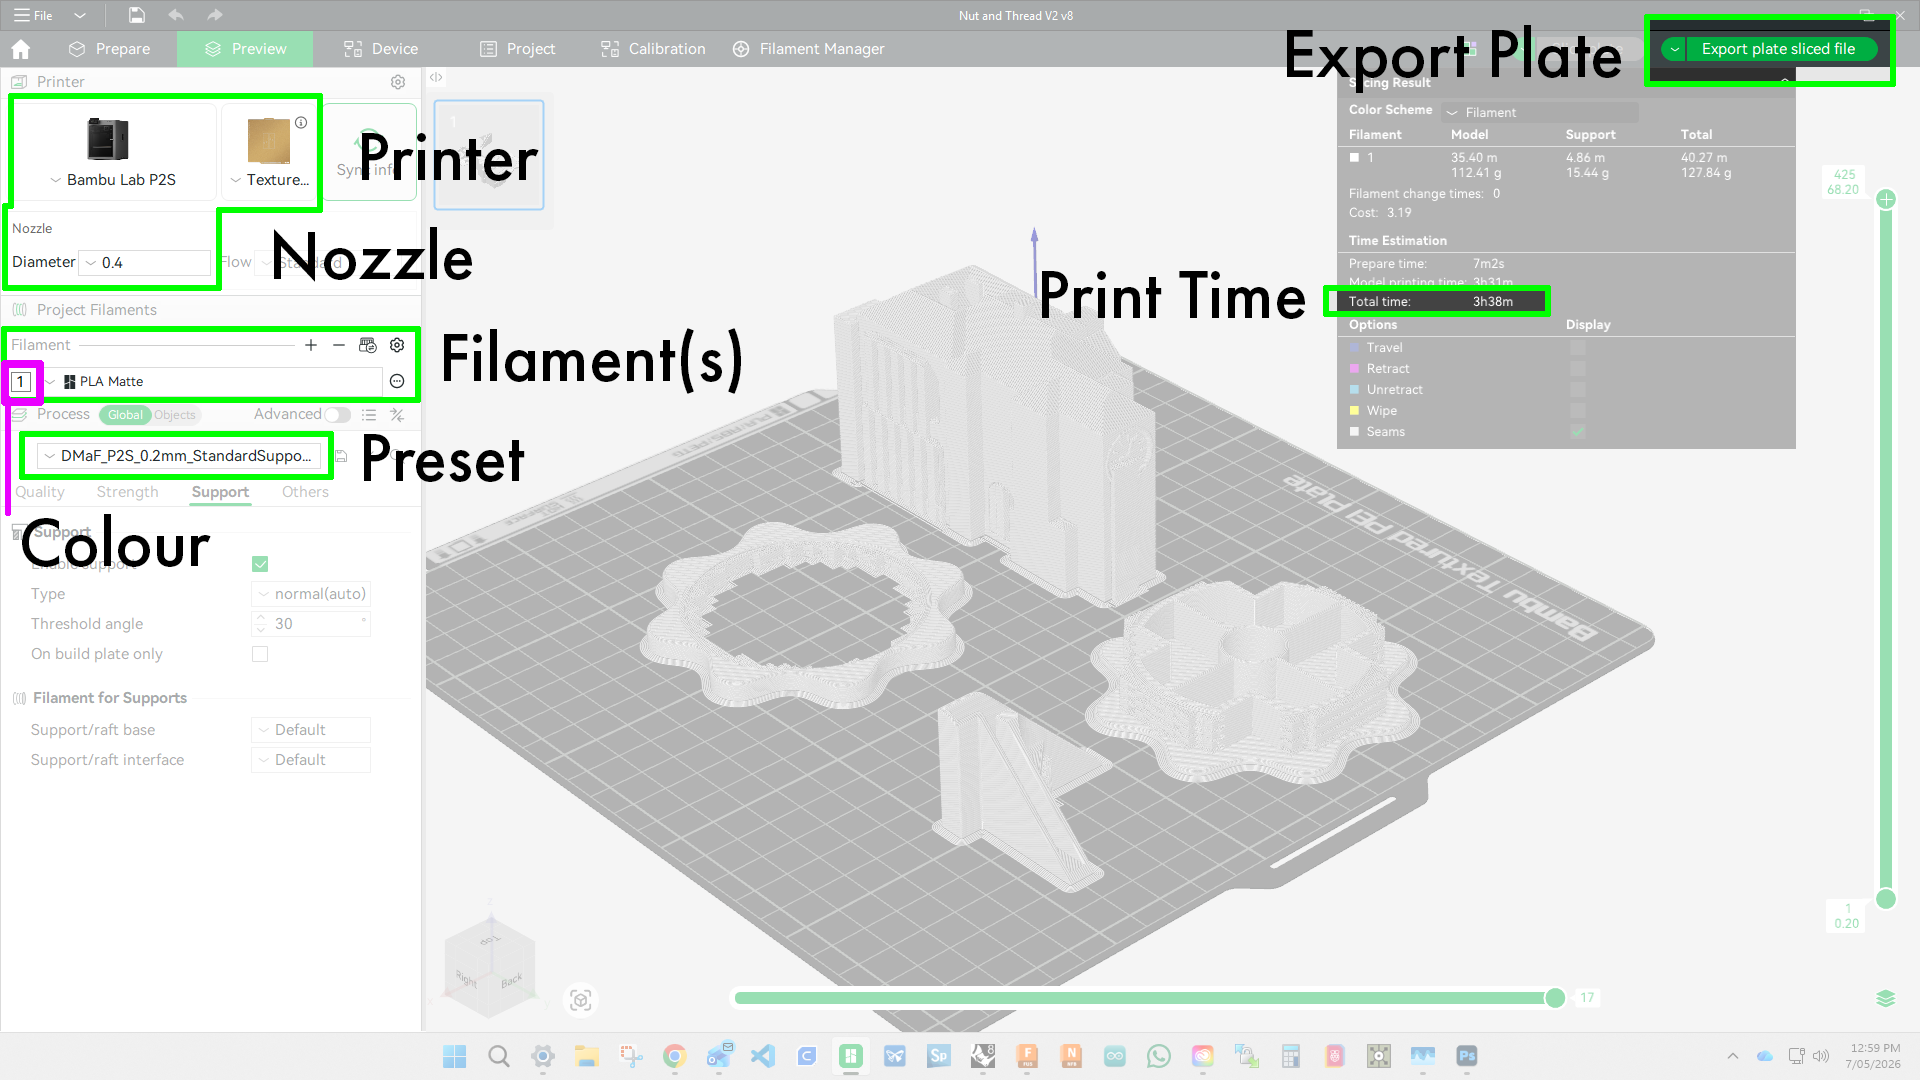
5.3 Make sure the colour you have sliced for is correct. Colour can be changed via the numbered box immediately left of the filament dropdown. Speak to a technician if you’re unsure.
Slicer settings.
6.1 Download the DMaF process profile file: DMaF Bambu Process presets 260507.zip
6.2 Import in Bambu Studio via File > Import > Import Configs
6.3 Select on of the following imported DMaF processes:
DMaF_P2S_0.2mm_StandardSupport&Brim - this is the default slicing process to use.
DMaF_P2S_0.2mm_TreeSupport&Brim - If your model has a lot of overhanging detail, this alternative support structure can be easier to remove.Warning: Do not untick support or brim in settings unless you are experienced at 3D printing and have previously discussed with a DigFab technician.
Repeat failure to include support for models which require them will result in suspended access to the lab’s 3D printers.Slice plate - Review the amount of filament used and estimated time. Check that your model is effectively supported in the preview.
Export plate - In the “print plate” drop down, select “Export plate sliced file” and name your file with the following convention:
Unikey_Filament type_Colour_part name
e.g. abcd1234_PLAmatte_BoneWhite_MassingModel
Upload the .3mf to 3DPrinterOS.
Print the file - Select one of the Bambu Lab P2S printers.
10.1 Ensure the filament type and colour is correct. The AMS filament system holds 4 reels of filament (named A1-A4) which will be loaded with pairs of matching colour. For
example, the machine Bat - White | Black will White on the first two reels, and Black on the second two. Choose from the filament dropdown the colour you
wish to print with.
10.2 If no printers are listed check you have sliced the file for the right printer type (P2S)
10.3 If the printer is busy, add your print job to queue.Track your print job progress in the 3DPprinterOS. You will be notified when it’s complete.
Collect your print from DMaF Lab. Check the collection area first under “industrial printers”.
Consider looking at the Bambu Labs wiki for further information, and tips and tricks for printing:
https://wiki.bambulab.com/en/software/bambu-studio/studio-quick-startHappy printing! :)
Terms & Conditions.
DMaF Lab will 3D print designs exactly as they are sliced and uploaded.
DMaF Lab is not responsible for failed prints or errors caused by incorrect slicer settings or unprintable geometry.
DMaF Lab staff are not responsible for ensuring that your design does not contain parts that will not print well, fit together or be strong – these are design decisions that should be considered by the student.
All pieces will be packaged for collection.